
KB ID 0000464
Problem
What used to be the simplest task, has now been overly complicated (Thanks Microsoft!) Simply deploying from a single .msi file would have been far too easy! This procedure uses group policy to install Microsoft Office 2010 via group policy. It uses the Microsoft preferred method of employing startup scripts.
Below I’ve also disabled UAC, I found it was stopping my automated install, (If I ran the script manually I was prompted by UAC to continue – that took me about 3 hours to work out).
It also automatically “Activates” Office as soon as its installed, (using a MAK key). In the following scenario I deployed Office 2010 (Pro Plus) x32 bit to Windows 7 machines. In a clean VMware test environment my target machine took 6 minutes to silently install. So on a production network it will probably take a little longer (be patient). But any more than 10 minutes and the process will time out, if that’s happening make sure you do this.
Solution
1. On a server create a shared folder called Office_2010, give Authenticated Users – read access.
2. . In that folder create a folder called LogFiles.
3. Copy the contents of the Office DVD to this share.
4. Open the shared folder locate the ProPlus.WW folder and open it.
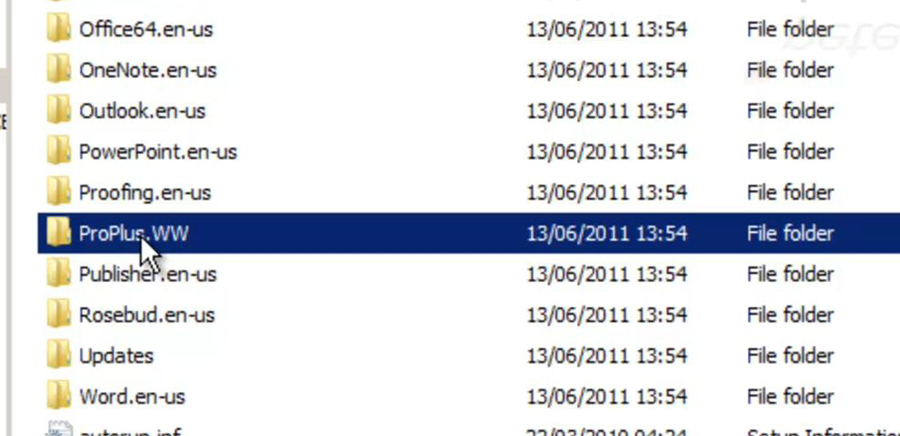
5. Locate config.xml open it with notepad.
Change:
<Display Level=”full” CompletionNotice=”yes” SuppressModal=”no” AcceptEula=”no” />
to
<Display Level=”none” CompletionNotice=”no” SuppressModal=”yes” AcceptEula=”yes” />
6. You can also change Username and companyname if you wish.
7. Save and exit config.xml
8. While in the Office_2010 folder Shift+Right Click > Open New command windows here.
9. Run setup.exe /admin
10. Accept the defaults on the popup menus.
11. Locate “Licensing and User interface.”
12. Enter a valid MAK license key (Take out the dashes and/or spaces). Tick to accept the EULA, and set the display level to none.
13. Locate “Set feature installation stats”, and set for the Office features you require.
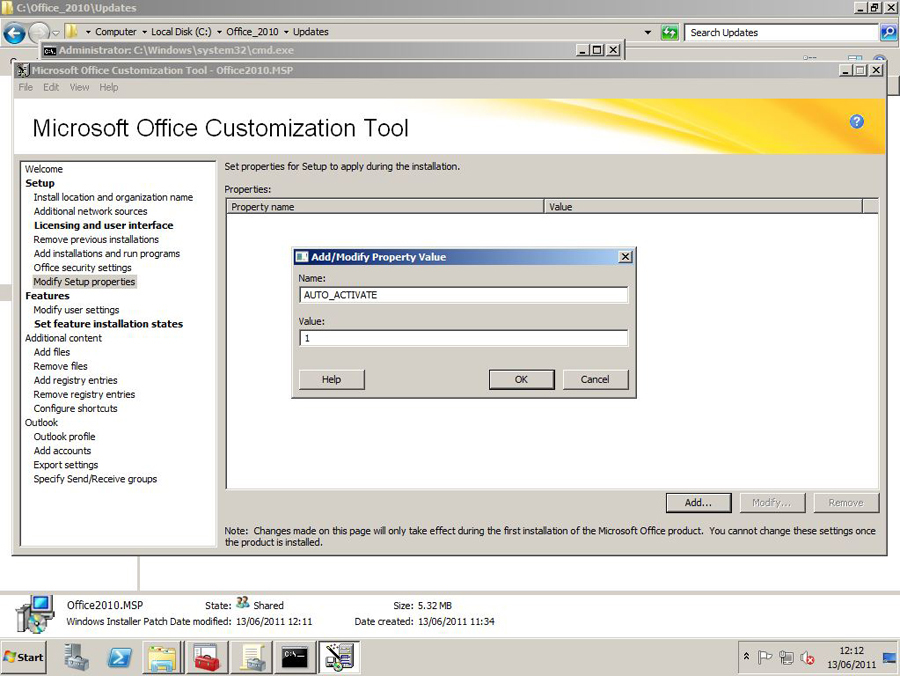
To Set Office to Auto Activate (Without user intervention).
14. Locate “Modify Setup properties” , add a new one.
15. Set the name the value to AUTO_ACTIVATE.
16. Set the value to 1 (number one), and click OK.
Note: If you need to remove previous versions of Office you will find the option to do that in here also.
17. Click File > Save as > Save the msp file in the shareupdates folder (you can call it what you want).
18. Open notepad and paste in the following text:
setlocal
REM ********************************************************************* REM Environment customization begins here. Modify variables below. REM *********************************************************************
REM Get ProductName from the Office product’s core Setup.xml file, and then add “office14.” as a prefix. set ProductName=Office14.PROPLUS
REM Set DeployServer to a network-accessible location containing the Office source files. set DeployServer=DC2AOffice_2010
REM Set ConfigFile to the configuration file to be used for deployment (required) set ConfigFile=DC2AOffice_2010ProPlus.WWconfig.xml
REM Set LogLocation to a central directory to collect log files. set LogLocation=DC2AOffice_2010LogFiles
REM ********************************************************************* REM Deployment code begins here. Do not modify anything below this line. REM *********************************************************************
IF NOT “%ProgramFiles(x86)%”==”” (goto ARP64) else (goto ARP86)
REM Operating system is X64. Check for 32 bit Office in emulated Wow6432 uninstall key :ARP64 reg query HKEY_LOCAL_MACHINESOFTWAREWOW6432NODEMicrosoftWindowsCurrentVersionUninstall%ProductName% if NOT %errorlevel%==1 (goto End)
REM Check for 32 and 64 bit versions of Office 2010 in regular uninstall key.(Office 64bit would also appear here on a
64bit OS) :ARP86 reg query HKEY_LOCAL_MACHINESOFTWAREMicrosoftWindowsCurrentVersionUninstall%ProductName% if %errorlevel%==1 (goto DeployOffice) else (goto End)
REM If 1 returned, the product was not found. Run setup here. :DeployOffice start /wait %DeployServer%setup.exe /config %ConfigFile% echo %date% %time% Setup ended with error code %errorlevel%. >> %LogLocation%%computername%.txt
REM If 0 or other was returned, the product was found or another error occurred. Do nothing. :End
Endlocal
19. Change the ProductName to the correct one you are deploying (search for ProductName in the setup.xml file that’s in the same folder you found config.xml in).
20. Change the THREE values in this script “DC2A” to your servername.
21. Save the file as a batch file (not a .txt file!) and right click the file > copy.
22. On your domain controller Start > Administrative tools > Group Policy management console > either create a new policy and link it to your COMPUTERS or edit an existing policy.
23. Navigate to:
24. Add the batch file you created earlier (open the folder and right click > paste).
Note: That should be all you need to do however – The first time I did this, UAC on the Windows 7 machines blocked the install, so I had to turn it off. You can do that in the same policy.
25. Navigate to:
Set the Following:
a. User Account Control Behaviour of the elevation prompt for administrators in Admin approval mode – No Prompt or Elevate without Prompting.
b. User Account Control Detect Application installations and prompt for elevation – Disabled.
c. User Account Control Run all administrators in Admin approval mode – Disabled.
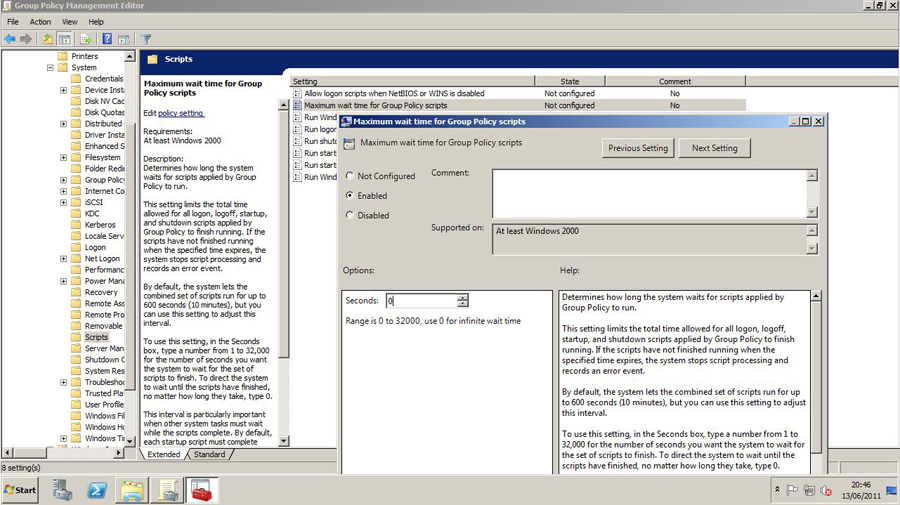
Policies like this will “time out” if running for more than 600 seconds (10 minutes). Our install may take longer than that, so you may need to set the time out in the policy, Navigate to:
Select “Maximum wait time for group policy scripts” set it to 0 (zero) for unlimited.
26. Close the policy editor.
Note: At this point every time Office starts for a new user, it presents you with:
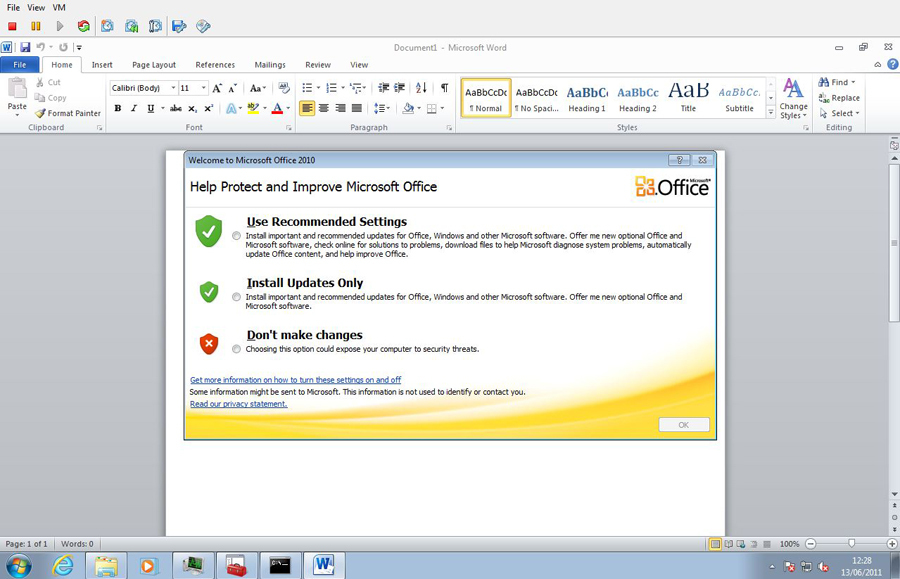
27. To Suppress that you need to create a USER policy with a Custom ADM Template, download the template here.
28. Note this is a USER Policy, so if you add it to the policy you have already created to deploy Office, then that policy needs to be linked to your users. So I would just create a new user policy and link it separately. Navigate to:
29. Locate the “Suppress recommended settings dialog” and enable it.
Related Articles, References, Credits, or External Links
Office 2010 Administrative templates.